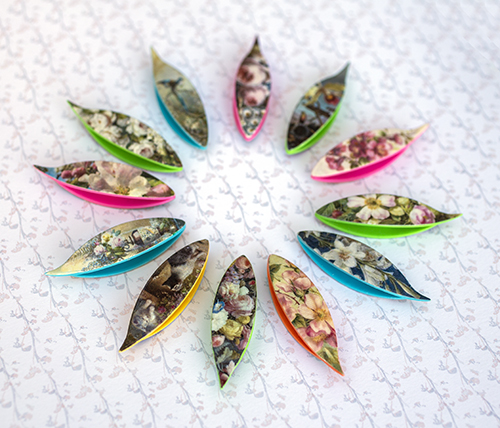
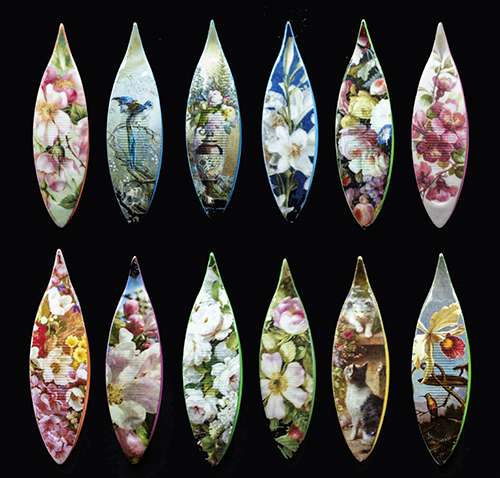
Pimpade frivolitetsskyttlar – Decorated tatting shuttles

Jag har länge velat prova att dekorera frivolitetsskyttlar och har sett flera olika varianter av detta på nätet.
Man kan göra decoupage med tunna servetter eller kopiera bilder på en tunn plastfilm som sedan limmas på skytteln. De första försöken blev inte alls bra! Det är svårt och tidsödande att få ett bra resultat. Ofta släpper bitar av motivet och man måste börja om. Först måste man sandpappra skytteln, därefter måla den vit. Målar man den inte lyser skyttelns färg genom motivet. Därefter överföra bilden, försegla den och lacka, lacka, lacka. Men efter att ha försökt många gånger blev det mycket bättre och roligare! Nu finns ett gäng i min Etsy shop och en del har en tillhörande virknål i samma motiv som på skytteln.
Decorating tatting shuttles is something I have wanted to try for a long time, and I have seen several different ways of doing this online. You can make a decoupage with thin napkins or copy pictures on a thin plastic film which is then glued to the shuttle. The first attempts were nowhere near OK! It is difficult and time-consuming to get a good result. First, you have to sandpaper the shuttle, then paint it white. If you don’t paint it, the color of the shuttle will shine through the motif. Then transfer the image, seal it and varnish, varnish, varnish. But after trying many times, it got much better and more fun! Now there is a bunch available in my Etsy shop and some have a matching crochet hook in the same motif as on the shuttle.


Comments
Pimpade frivolitetsskyttlar – Decorated tatting shuttles — No Comments
HTML tags allowed in your comment: <a href="" title=""> <abbr title=""> <acronym title=""> <b> <blockquote cite=""> <cite> <code> <del datetime=""> <em> <i> <q cite=""> <s> <strike> <strong>